We spent many hours on research to finding how remove bottom cover coffee maker cuisinart dcc, reading product features, product specifications for this guide. For those of you who wish to the best how remove bottom cover coffee maker cuisinart dcc, you should not miss this article. how remove bottom cover coffee maker cuisinart dcc coming in a variety of types but also different price range. The following is the top 10 how remove bottom cover coffee maker cuisinart dcc by our suggestions
860 reviews analysed
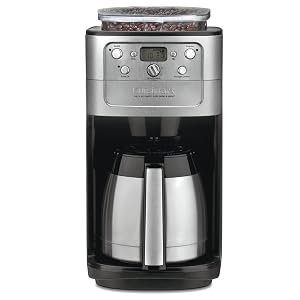


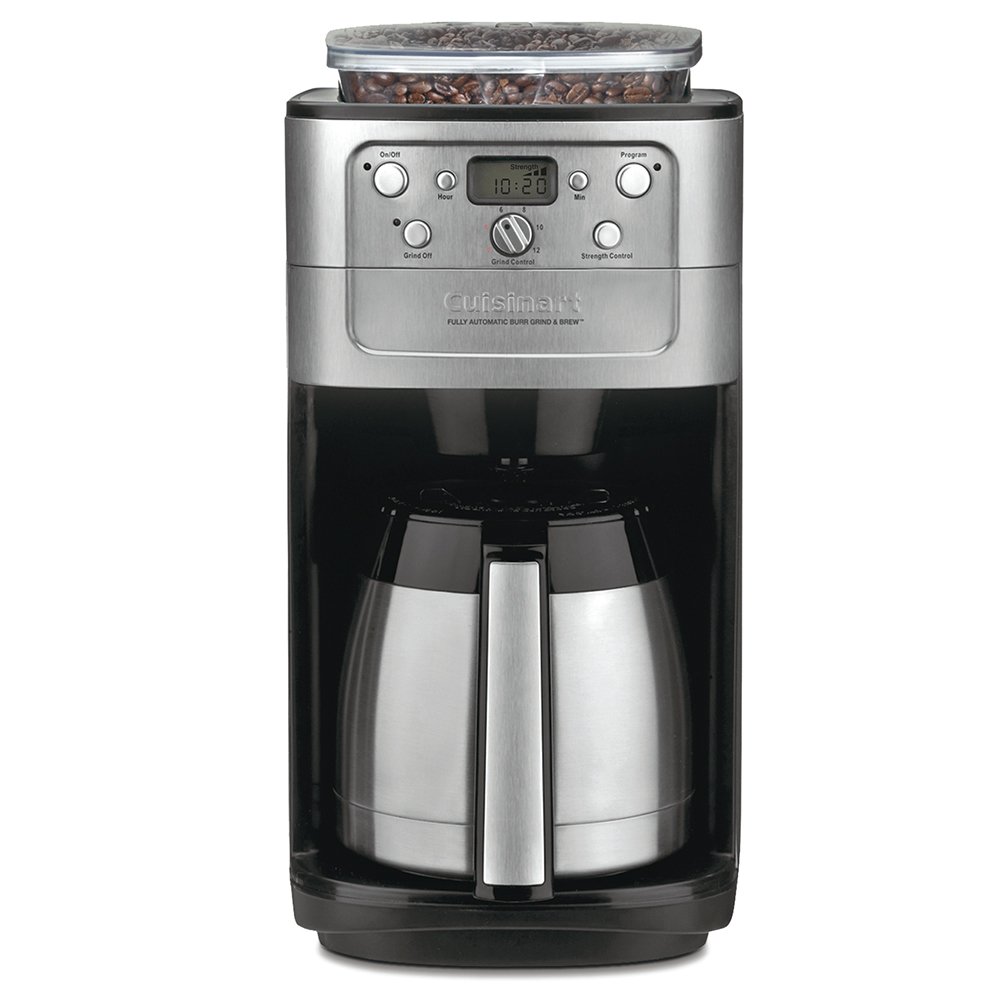
1. Cuisinart DGB-900BC Grind & Brew Thermal 12-Cup Automatic Coffeemaker
Feature
- 24-hour fully programmable coffeemaker with auto shutoff, brew-pause feature, and Grind off function
- Double-wall insulated stainless steel thermal carafe with comfort grip handle holds up to 12 cups of coffee
- Built-in automatic burr grinder and 8-ounce bean hopper holds a half pound of beans. Strength selector and grind control fine-tune intensity and volume
- Includes: Charcoal water filter and permanent gold tone filter that ensures only the freshest coffee flavor flows through. Measuring scoop. Instruction book
- Product Built to North American Electrical Standards.Please refer the set up/ troubleshooting details provided in the video under images section and the manual under product description field for the smooth usage of the product
- Note: Pg 10 from the user manual notes the proper way to place and lock the carafe lid for brewing and pouring
Description
Product Description
Easily brew up to 12 cups of great-tasting coffee with this 24-hour fully programmable coffeemaker. The unit comes equipped with a built-in burr grinder, which automatically grinds beans right before brewing, and its grind-control function makes it easy to program the amount of coffee to grind–from 2 to 12 cups. In addition, its strength selector allows for choosing from strong, medium, or mild coffee. The unit’s bean hopper holds up to a half pound of beans and comes with a sealed lid to prevent moisture. Other highlights include automatic shut-off after brewing, a grind-off option, and an integrated 2- to 4-cup feature, as well as a Gold tone commercial-style permanent filter and charcoal water filter to remove impurities, and a brew-pause function for sneaking a cup midbrew. A 12-cup (5 ounces each) double-wall insulated thermal carafe comes included, which seals in heat and freshness so the last cup tastes as good as the first. The coffeemaker measures 10-2/3 by 8-4/9 by 16-1/4 inches and carries a three-year limited warranty.
From the Manufacturer
The Cuisinart DGB-900BC Fully Automatic Burr Grind & Brew Thermal Coffeemaker
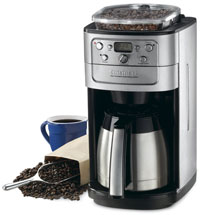
The burr mill grinder in the new Fully Automatic Burr Grind & Brew Thermal Coffeemaker is responsible for the superior coffee flavor that you can experience. Add to that the pleasure of choosing the flavor strength you like best, easy-to-use controls, and a thermal carafe that keeps coffee hot and fresh for hours and you’ll understand why we say this Cuisinart coffeemaker is a grind above the rest.
The Quest for a Perfect Espresso
It is generally agreed that there are four basic elements critical to the perfect cup:
Element 1. Water:
Coffee is 98% water. Often overlooked, the quality of the water is as important as the quality of the coffee. A good rule of thumb is that if your water doesn’t taste good from the tap, it won’t taste any better in your coffee. That’s why Cuisinart has added a water filter to the Fully Automatic Burr Grind & Brew Coffeemaker. The charcoal water filter removes chlorine, bad tastes and odors, for the purest cup of coffee every time.
Element 2. Coffee:
While the bulk of the liquid is water, all of the flavor should be from the coffee. To achieve the same great quality of coffee you receive at a coffee bar, you need to use the same quality beans. Buy the beans fresh and whole, only about a two weeks’ supply at a time for maximum freshness. Once the coffee bean is broken, its flavor degrades very quickly. That’s why the Fully Automatic Burr Grind & Brew Coffeemaker grinds your coffee just prior to brewing. If it is not practical to buy small supplies, we recommend you separate larger amounts of beans into one to two week portions immediately after purchase, and freeze them in airtight containers. The best way to maximize freshness is to minimize exposure to air, light and moisture. So, once beans have been removed from the freezer, maintain them in a sealed container at room temperature, since damaging condensation occurs every time the beans are removed from the freezer or refrigerator. Note that some coffee experts advise against freezing dark-roast beans, because freezing can cause the oils to coagulate. Other experts disagree. We suggest you experiment and decide yourself. We recommend keeping the hopper at least half way full. Be sure that you have sufficient amount of beans in your hopper for the amount of coffee you intend to brew. Although it is preferable to use fresh, whole beans, you can make coffee in the coffeemaker using pre-ground beans. To do so, turn off the grinder by pressing the Grind Off button before turning on the unit. It is suggested to use 1 level scoop of ground coffee per cup and adjust the amount to your taste. The maximum capacity for ground coffee is 16 level scoops, using either a paper or permanent filter. Exceeding this amount may cause overflow.
Element 3. Grind:
The grind of the coffee is critical for proper flavor extraction. If the grind is too fine, over extraction and bitterness will result. Too fine a grind may also clog the filter. If the grind is too coarse, the water will pass through too quickly and the desired flavors will not be extracted. The Fully Automatic Burr Grind & Brew Coffeemaker is preset for a medium grind, the optimal grind for this type of coffeemaker.
Element 4. Proportion:
The Fully Automatic Burr Grind & Brew Coffeemaker makes up to twelve cups of (54 ounces) of coffee.
Making Coffee with Whole Beans

- Fill the Water Reservoir:
Open the reservoir lid. Pour the desired amount of water in the reservoir using the water level window indicator. Close the reservoir lid. Note: Do not exceed the 12-cup line; doing so may cause the carafe to overflow. - Add Beans:
Lift the hopper lid, using the recess on either side. Fill the hopper with beans. It is recommended keeping the hopper at least halfway full. Be sure that you have a sufficient amount of beans in your hopper for the amount of coffee you intend to brew (maximum capacity is 1/2-pound Do not over-pack the hopper. Over-packing may result in jamming the grinder.) For easy filling, the hopper container can be taken out by turning the hopper container release knob to the unlock position. Note: Do not put any water in the unit once the hopper container has been removed. If the water gets into the grinder motor, the motor may become damaged and may malfunction. Put hopper lid back in place. - Lock Hopper:
If you have removed the hopper from the unit, be sure that the hopper container release knob is in the unlocked position and place the hopper container back in the unit. Turn the knob to locked position. This unit is equipped with a safety interlock system. The unit will not grind if the hopper container is not in place. If you try to turn on the unit for grinding with the hopper out of place, the unit will beep continuously until the missing part is installed. The brewing process can be restarted by pressing the On button. Restarting the process will not affect coffee results. - Insert Coffee Filter:
Open filter door by pressing filter basket door release button. Remove filter basket cover and place a #4 basket paper filter or Cuisinart’s commercial style permanent filter in the basket. The unit is equipped with a safety interlock system. The units will not operate if the filter basket cover or filter basket are not in place or if the filter door is not closed. If you try to turn the unit on while the filter compartment is out of place, the unit will beep continuously until the missing part(s) are installed. - Brewing:
- Immediate Grinding and Brewing:
- Turn the Grind Control Knob to select the number of cups you want to brew. The coffeemaker will grind the corresponding amounts of beans. The unit will automatically adjust for low cup settings.
- Press the Strength Control button to set the coffee strength. MILD, MED or STRONG will show on the LCD display.
- Press the On button. The indicator will light and process will begin.
- Programmed Brewing:
Press the Program button. The indicator will light and the display will show the programmed time for as long as the button is depressed. The display reverts back to the time of day once the button is released.- Turn the Grind Control knob to select the number of cups you want to brew. The Coffeemaker will grind the corresponding amount of beans. The unit will automatically adjust for low cup settings.
- Press the Strength Control button to set coffee strength. MILD, MED or STRONG will show on the LCD display.
- The coffeemaker will begin brewing at the programmed time.
- Immediate Grinding and Brewing:
- During and After Brewing:
The Brew Pause feature allows you to remove the carafe from the resting plate during mid-brew. The brewing process does not stop during this period; only the flow of coffee from the basket stops. Do not remove the carafe for longer than 20 seconds or the coffee may overflow the basket. While Cuisinart offers this feature, it is not recommended that you pour coffee before the cycle has reached completion, since the coffee brewed at the beginning of the cycle has a flavor profile which is very different from the coffee made at the end of the cycle. Removing the cup during the brewing cycle will alter the flavor of the finished pot. When the brewing cycle is completed, five beeps will sound. Coffee will continue to stream from the filer for several seconds. After brewing, the unit will automatically shut itself off. The thermal carafe will keep the coffee hot for hours.
Making Coffee with Pre-Ground Beans

- Fill the Water Reservoir:
Open the reservoir lid. Pour the desired amount of water in the reservoir using the water level window indicator. Close the reservoir lid. Note: Do not exceed the 12 cup line; doing so may cause the carafe to overflow. - Add Coffee Grounds:
- Open filter door. Add ground coffee to the permanent or #4 paper filter.
- Place filter basket lid in place and close filter door.
- Brewing:
- Immediate Grinding and Brewing:
- Press the Grind Off button. When this function is activated, an amber LED will be illuminated.
- Press the On button. The indicator will light and the process will begin.
- Programmed Brewing:
Press the Program button. The indicator will light and the display will show the programmed time for as long as the button is depressed. The display reverts back to the time of day once the button is released.- Press the Grind Off button. When this function is activated, an amber LED will be illuminated.
- The coffeemaker will begin brewing at the programmed time.
- Immediate Grinding and Brewing:
For additional product information, see the reference manual above.
Brand Story
By Cuisinart
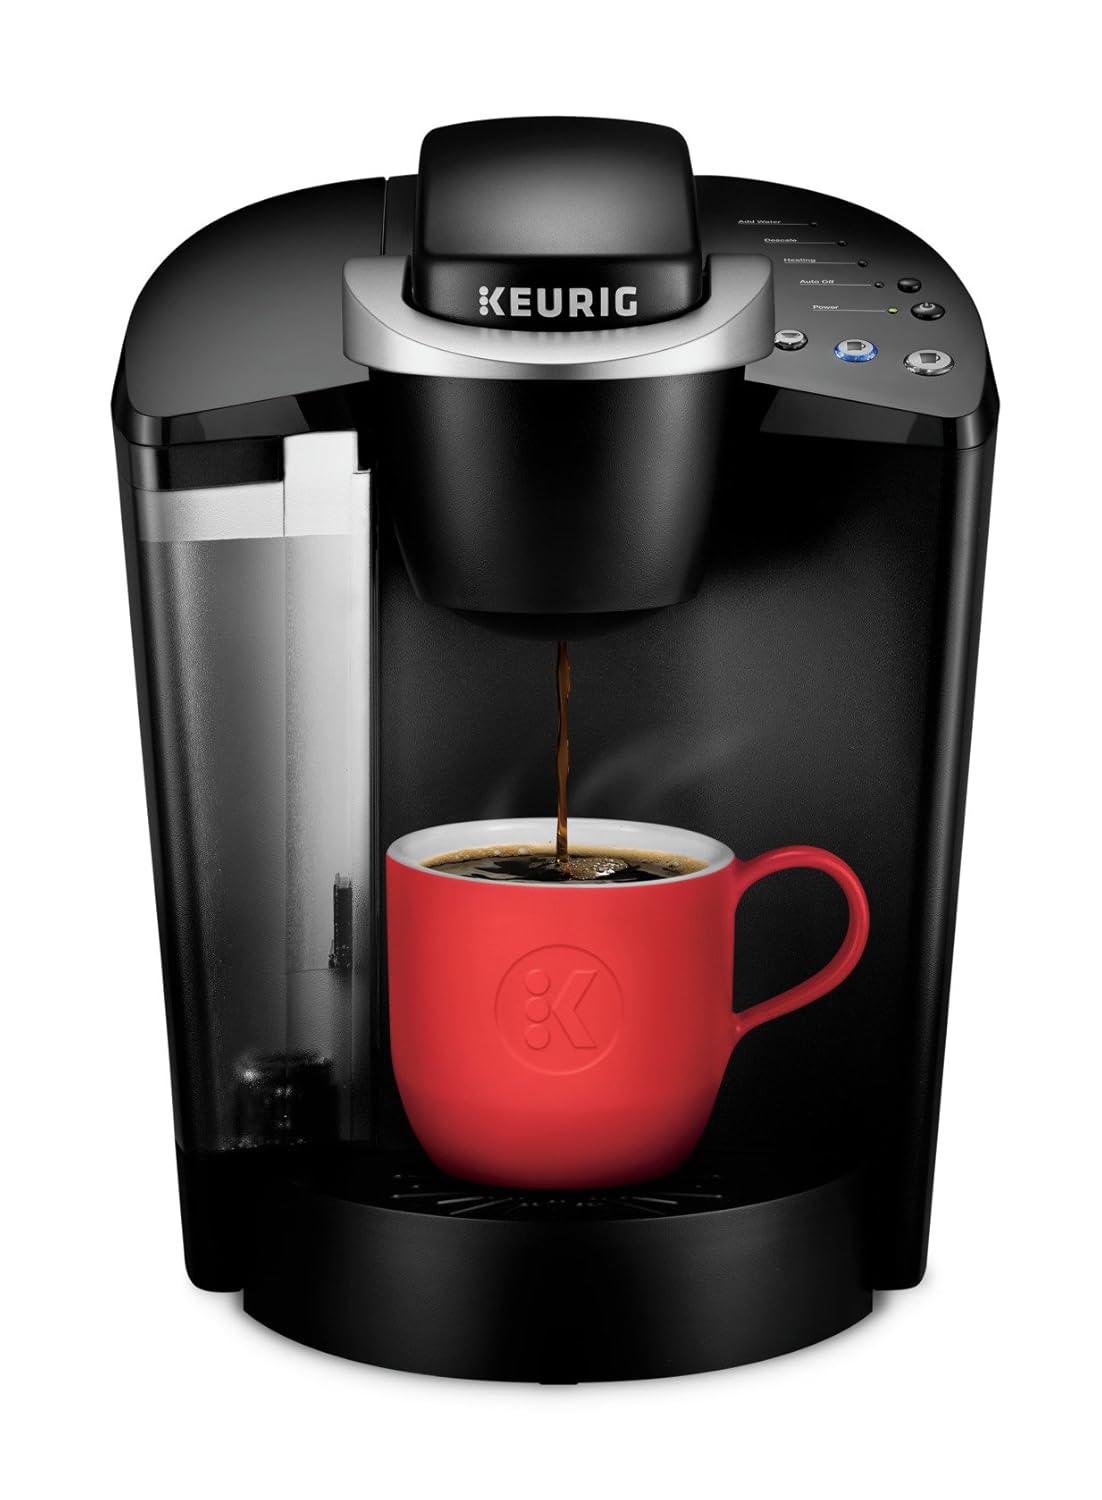
2. Keurig K-Classic Coffee Maker K-Cup Pod, Single Serve, Programmable Black
Feature
- Brews multiple K-Cup Pod sizes: (6, 8, 10 oz.) – The most popular K-Cup Pod brew sizes. Use the 6oz brew size to achieve the strongest brew.
- Large 48 oz. Water reservoir: allows you to brew 6+ cups before having to refill, saving you time and simplifying your morning routine. The water reservoir is removable, making it easy to refill whenever you need to.
- Simple button controls: just insert a Pod, select your desired brew size, and brew a fresh, great-tasting cup in under a minute.
- Descaling: an important part of cleaning your Keurig brewer. This process helps to remove calcium deposits, or scale, that can build up inside a Coffee maker over time. Please refer to our descaling video for step by step instructions.
- Auto-off: an auto-off feature is easily programmed to turn off your Coffee maker after it has been idle for two hours, helping to save energy.
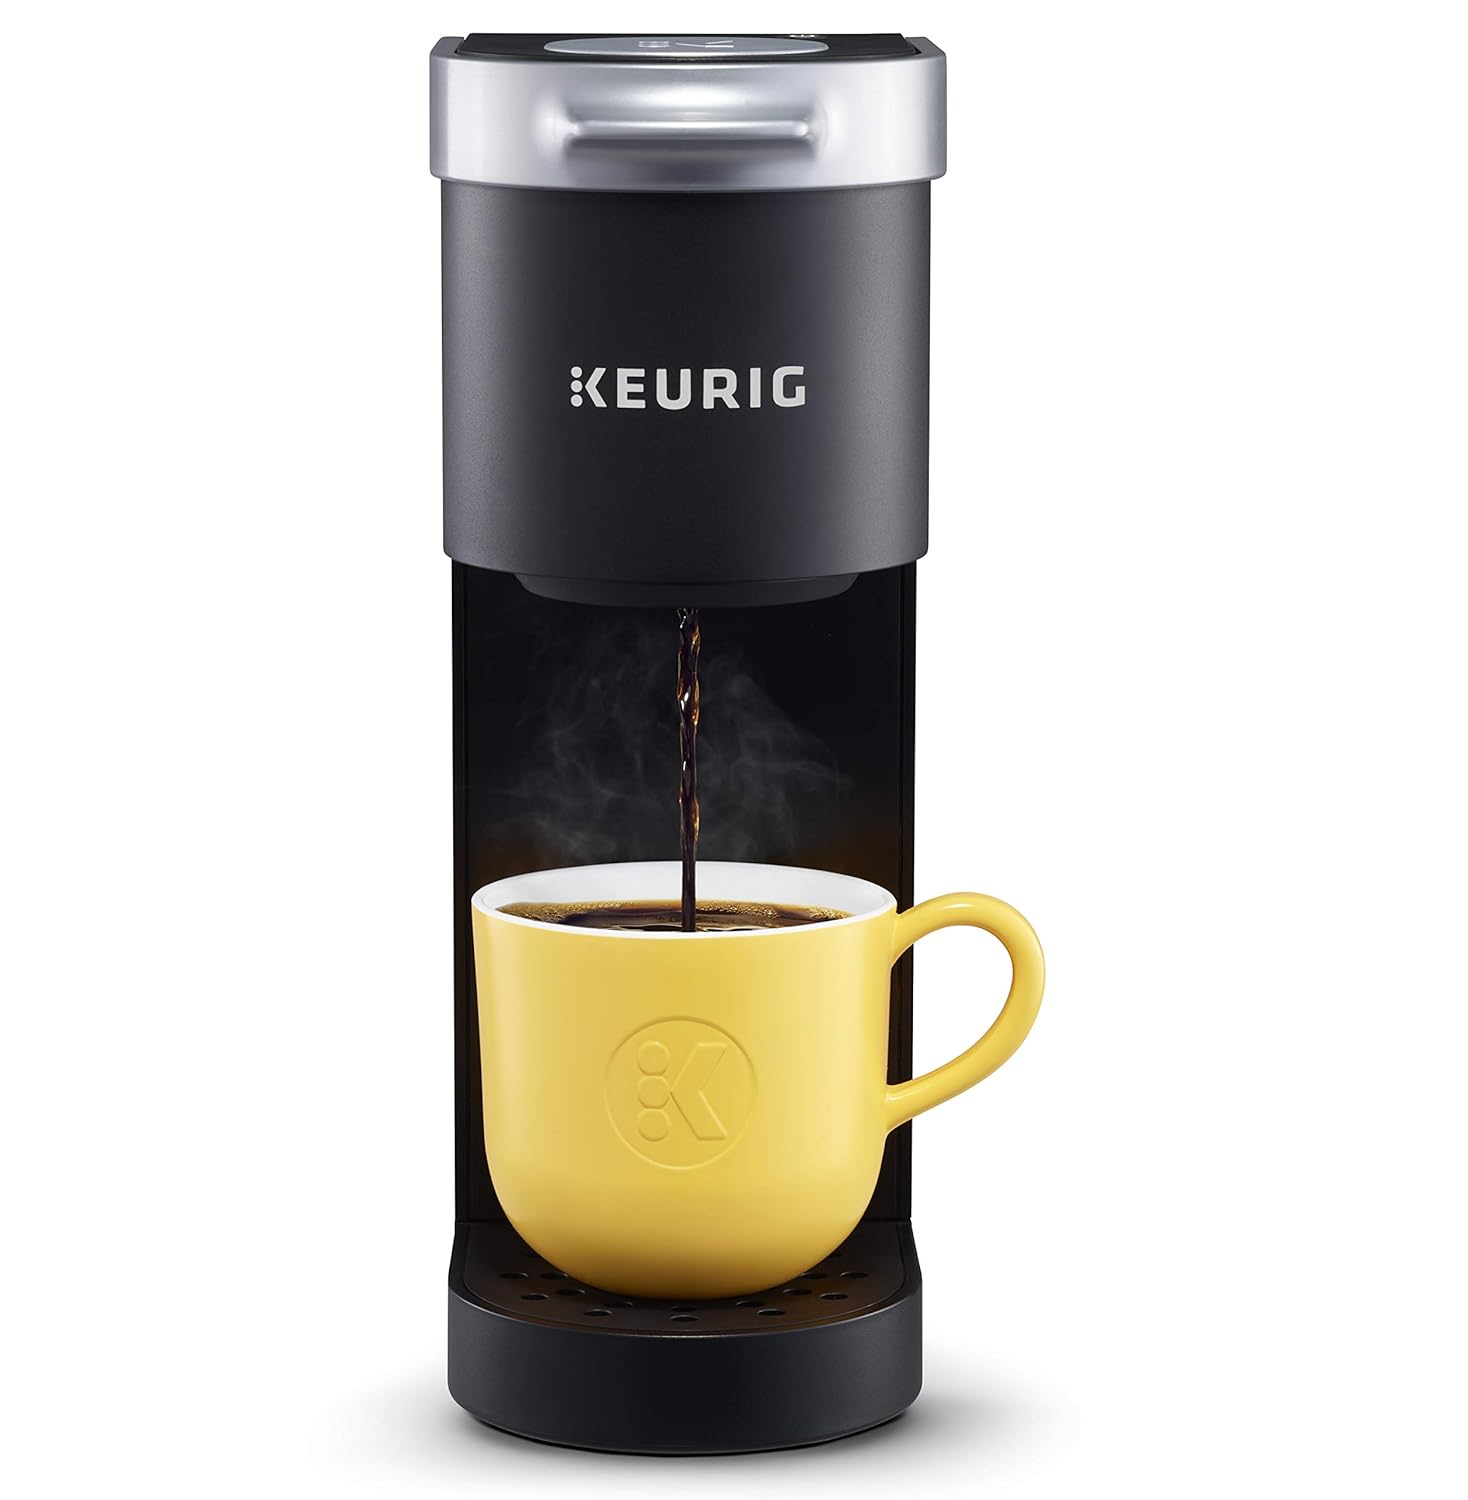
3. Keurig K-Mini Single Serve Coffee Maker, Black
Feature
- Fits anywhere: less than 5 inches wide, Perfect for small spaces.
- One cup reservoir: just add fresh water for each brew.
- Fast & fresh brewed: Coffee made in minutes.
- Cord storage: for easy transport and tidy countertops.
- Your perfect amount: brew any cup size between 6-12oz with Keurig K-Cup pods.
- Travel mug friendly: removable drip tray accommodates Travel mugs up to 7. 0” tall and holds a full accidental brew for easy cleanup.
- Energy efficient: auto off feature turns off your Coffee maker 90 seconds after your last brew, helping to save Energy.
- Compatible with the my K-Cup universal reusable coffee filter: brew your own ground Coffee (sold separately).
- Included in the box: Keurig k-mini single serve Coffee maker.
Description
The new Keurig k-mini single serve Coffee maker features a new sleek design, and at less than 5” wide is the perfect size for any space or occasion. The k-mini brewer is effortlessly simple to use – just add fresh water to the reservoir, pop in your favorite K-Cup Pod, press the brew button and enjoy fresh brewed, delicious Coffee in minutes. Choose from hundreds of delicious K-Cup Pod varieties to enjoy 6-12oz of your favorite Coffee, tea, cocoa, and iced beverages. With a single cup reservoir and cord storage, The k-mini Coffee maker is the portable brewer that makes anywhere Perfect for great Coffee.
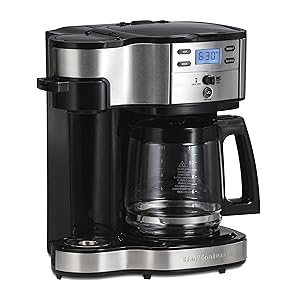
4. Hamilton Beach 49980A Coffee Maker Single Serve Black/Stainless Steel

Feature
- Note: Travel mug not-included. Dimensions (inches): 13.9 H x 12.23 W x 11.08 D
- Two ways to brew your coffee, single serve or full pot.
- 12 cup glass carafe included or brew into a travel or regular sized mug using single serve function.
- Single serve side works only with loose ground coffee or disk-shaped soft pods (not compatible with K-CUP packs*, capsules or other single-serve packs). *K-CUP is a registered trademark of Keurig Green Mountain, Inc. Use of the K-CUP trademark does not imply any affiliation with or endorsement by Keurig Green Mountain, Inc.
- 950 Watts . Brew strength function for bold or regular coffee and fully programmable with auto shutoff.
- Brews up to 14 ounces in travel mug (not-included) or adjusts to fit a shorter cup.
Description
For all the coffee drinkers and aficionados in search of an affordable, low maintenance coffeemaker that can brew a basic or premium roast coffee in a fraction of the time and cost as the coffeehouse: Meet the Hamilton Beach 2-Way Brewer. Voltage 110 volts
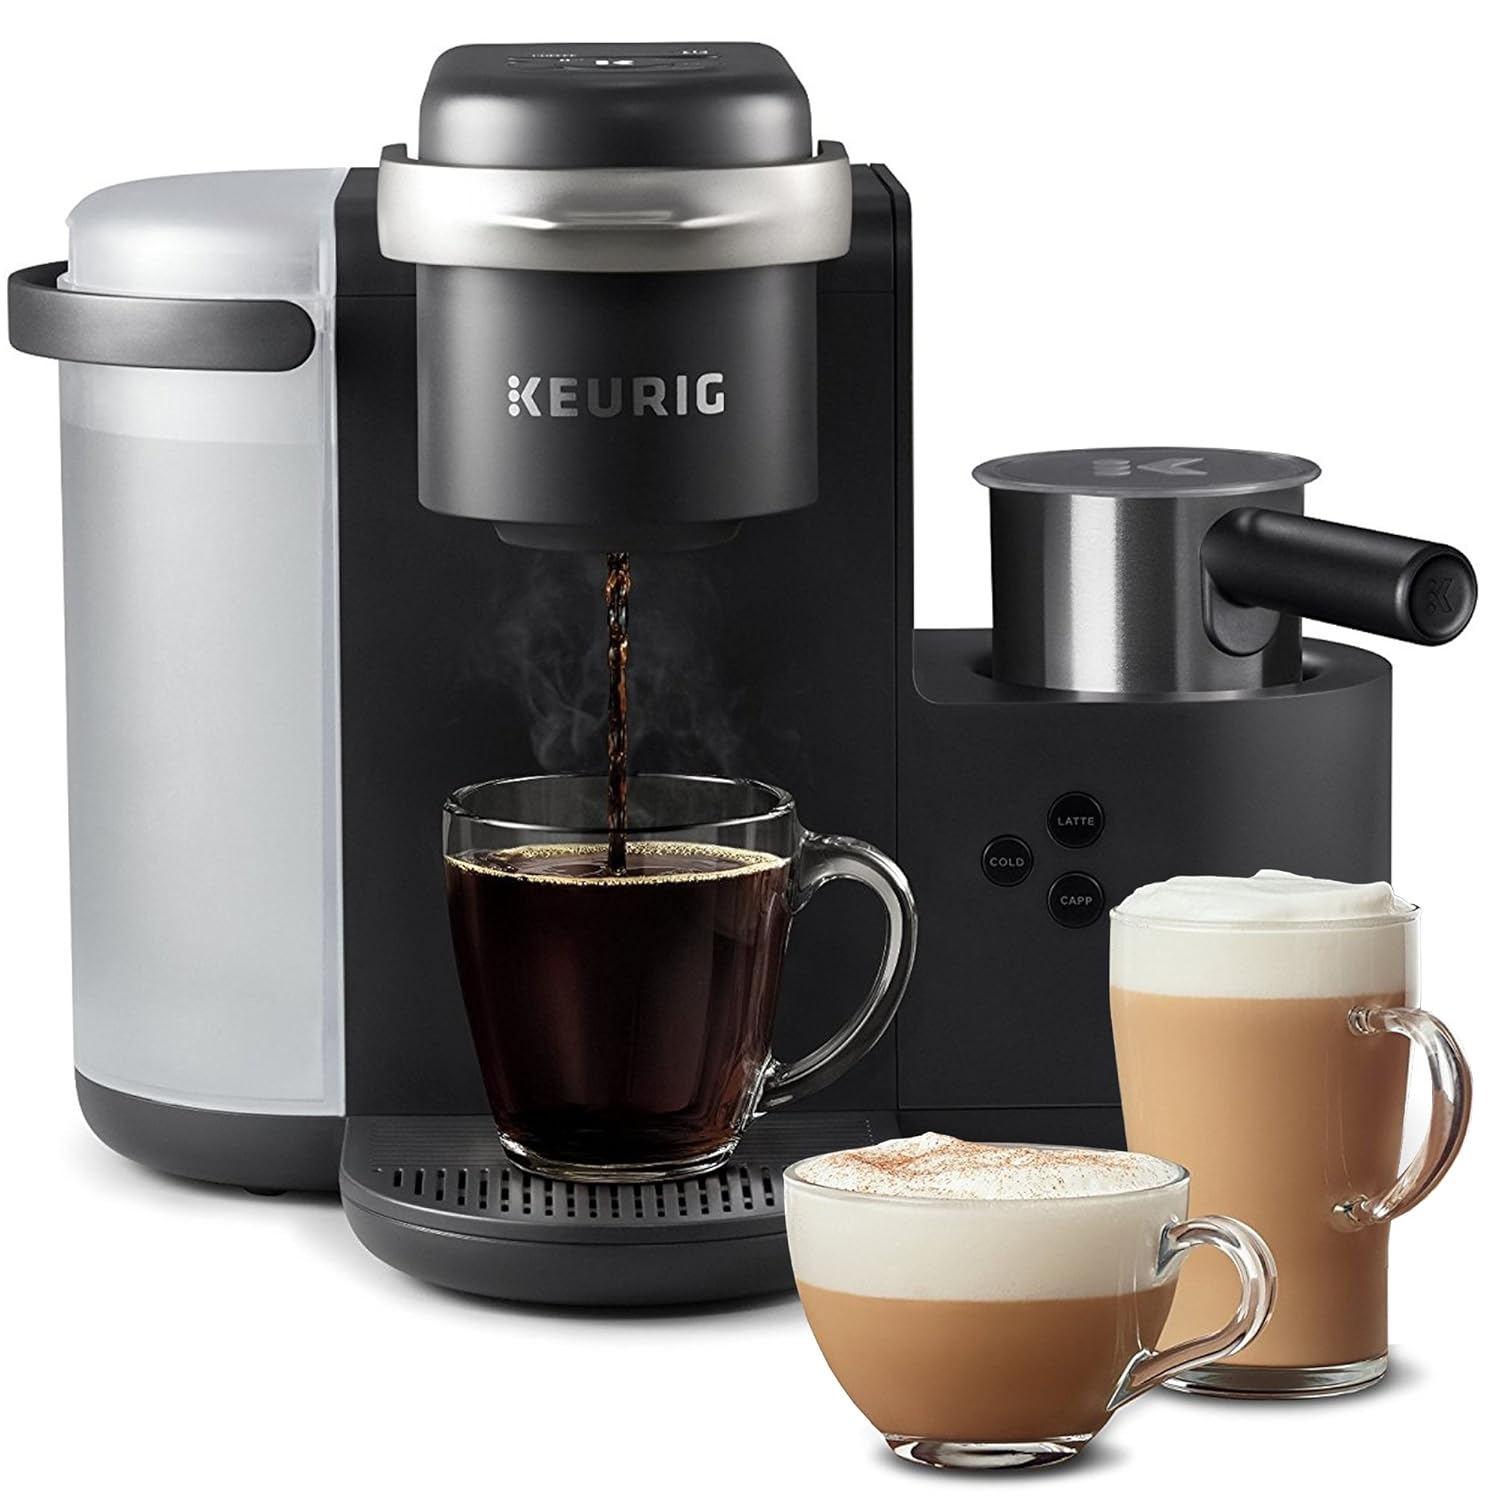
5. Keurig K-Cafe Single-Serve K-Cup Coffee Maker, Latte Maker and Cappuccino Maker, Comes with Dishwasher Safe Milk Frother, Coffee Shot Capability, Compatible With all Keurig K-Cup Pods, Dark Charcoal
Feature
- COFFEE, LATTES & CAPPUCCINOS: Use any K-Cup pod to brew coffee, or make delicious lattes and cappuccinos.
- COFFEE SHOT FOR SPECIALTY DRINKS: Press the SHOT button to brew a concentrated shot of coffee from your favorite K-Cup pod to make delicious hot or iced lattes and cappuccinos.30.0 inches Cord Length
- DISHWASHER SAFE FROTHER: Froth fresh milk, including skim, soy, and almond. The frother is dishwasher safe for easy clean up after use.
- STRONG BREW: Increase the strength and bold taste of your coffee.16.7 inches H (with handle open) 6.2 H inches mug clearance with drip tray (fits a 7.2 inches travel mug with drip tray removed)
- 4 CUP SIZES: 6, 8, 10, and 12oz.
- SIMPLE BUTTON CONTROLS: Just insert any K-Cup pod and use the button controls to brew delicious coffee, or make hot or iced lattes and cappuccinos.
- LARGE 60oz WATER RESERVOIR: Allows you to brew 6 cups before having to refill, saving you time and simplifying your morning routine. Removable reservoir makes refilling easy.
- SMART START: Your coffee maker heats, then brews in one simple process. No need to wait for it to heat before selecting your cup size.
- ENERGY EFFICIENT: Programmable auto off feature automatically turns your brewer off 2 hours after the last brew for energy savings.
- TRAVEL MUG FRIENDLY: Accommodates travel mugs up to 7.2” tall and is top rack dishwasher safe for easy cleanup.
Description
Enjoy the rich, full-flavored coffee you love or delicious coffeehouse beverages from the new Keurig K-Café single serve coffee, latte, and cappuccino maker. Whether brewing coffee, or making lattes, and cappuccinos, the K-Café brewer works with any K-Cup pod so the options are endless. Use the coffee SHOT to brew a concentrated shot of coffee and froth your choice of fresh milk to create a creamy latte or frothy cappuccino. Enjoy your latte or cappuccino hot or use the COLD setting for cold frothed milk to make a wonderfully refreshing iced latte or iced cappuccino. Brew 6, 8, 10, or 12oz of your favorite coffee, tea, or cocoa – select Strong Brew when you want a bolder cup of coffee. The dishwasher safe frother makes clean up a breeze – enjoying delicious specialty beverages at home has never been so easy. Just brew, froth, enjoy! Making a latte or cappuccino in just 3 easy steps: 1. BREW a coffee SHOT using any K-Cup pod. 2. FROTH your choice of fresh milk, including skim, soy, and almond in the dishwasher-safe frother. 3. ENJOY your creamy latte or frothy cappuccino. DISHWASHER SAFE FROTHER: Froth fresh milk, including skim, soy, and almond. The frother is dishwasher safe for easy clean up after use and also features a COLD setting for cold frothed milk.
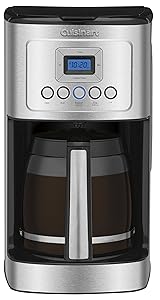
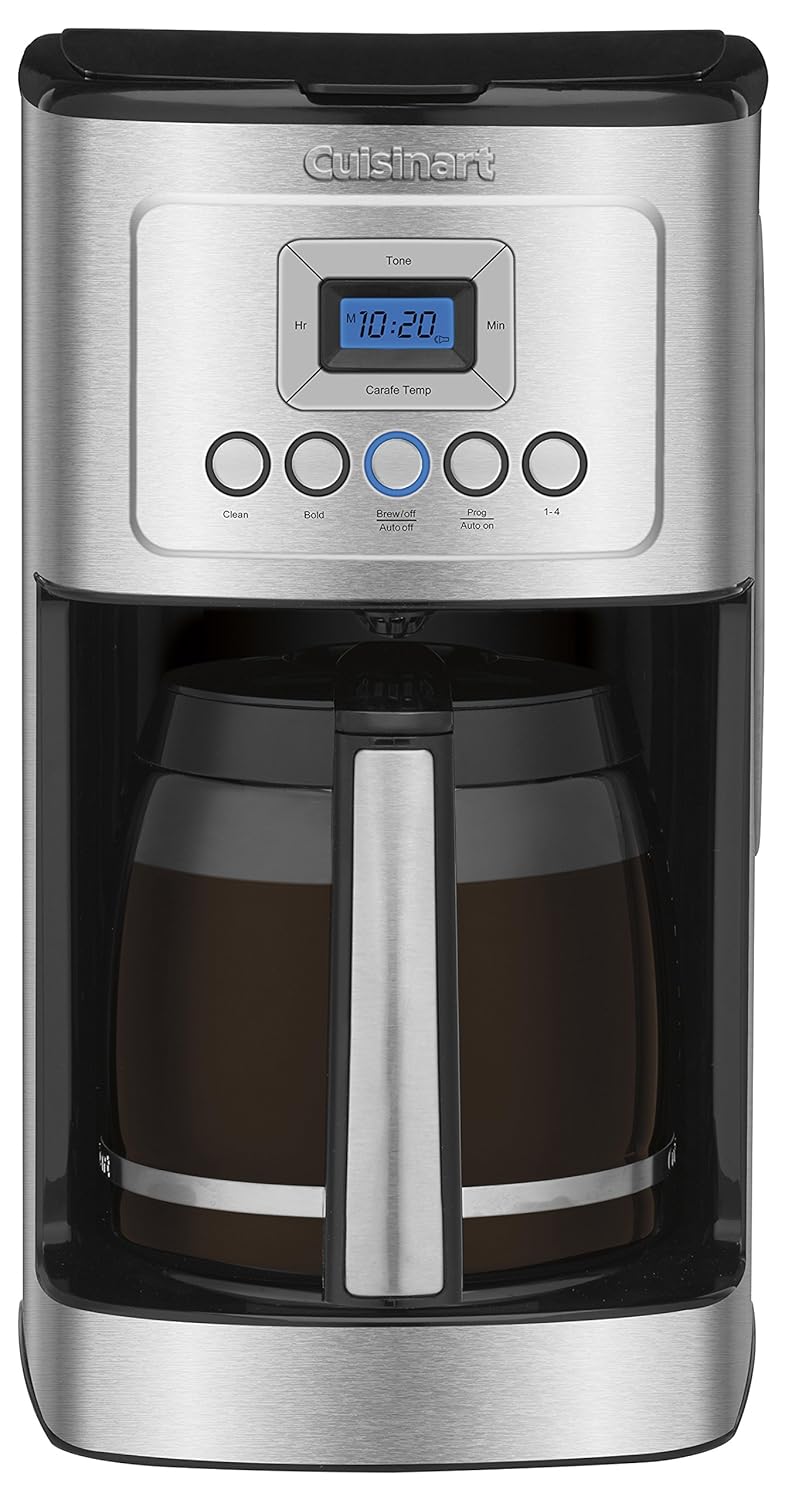
6. Cuisinart DCC-3200 14-Cup Glass Carafe with Stainless Steel Handle Programmable Coffeemaker, Silver
Feature
- State-of-the-art technology to ensure hotter coffee without sacrificing flavor or quality
- Brew strength control allows you to select regular or bold coffee flavor
- Fully automatic with 24-hour programmability, self-clean, 1-4 cup setting and auto shutoff (0-4 hours)
- Adjustable keep warm temperature control
- Gold tone, commercial style permanent filter.60-second reset recalls settings and position in the brewing process in case of loss of power
7. Cuisinart SS-15 12-Cup Coffee Maker and Single-Serve Brewer, Stainless Steel
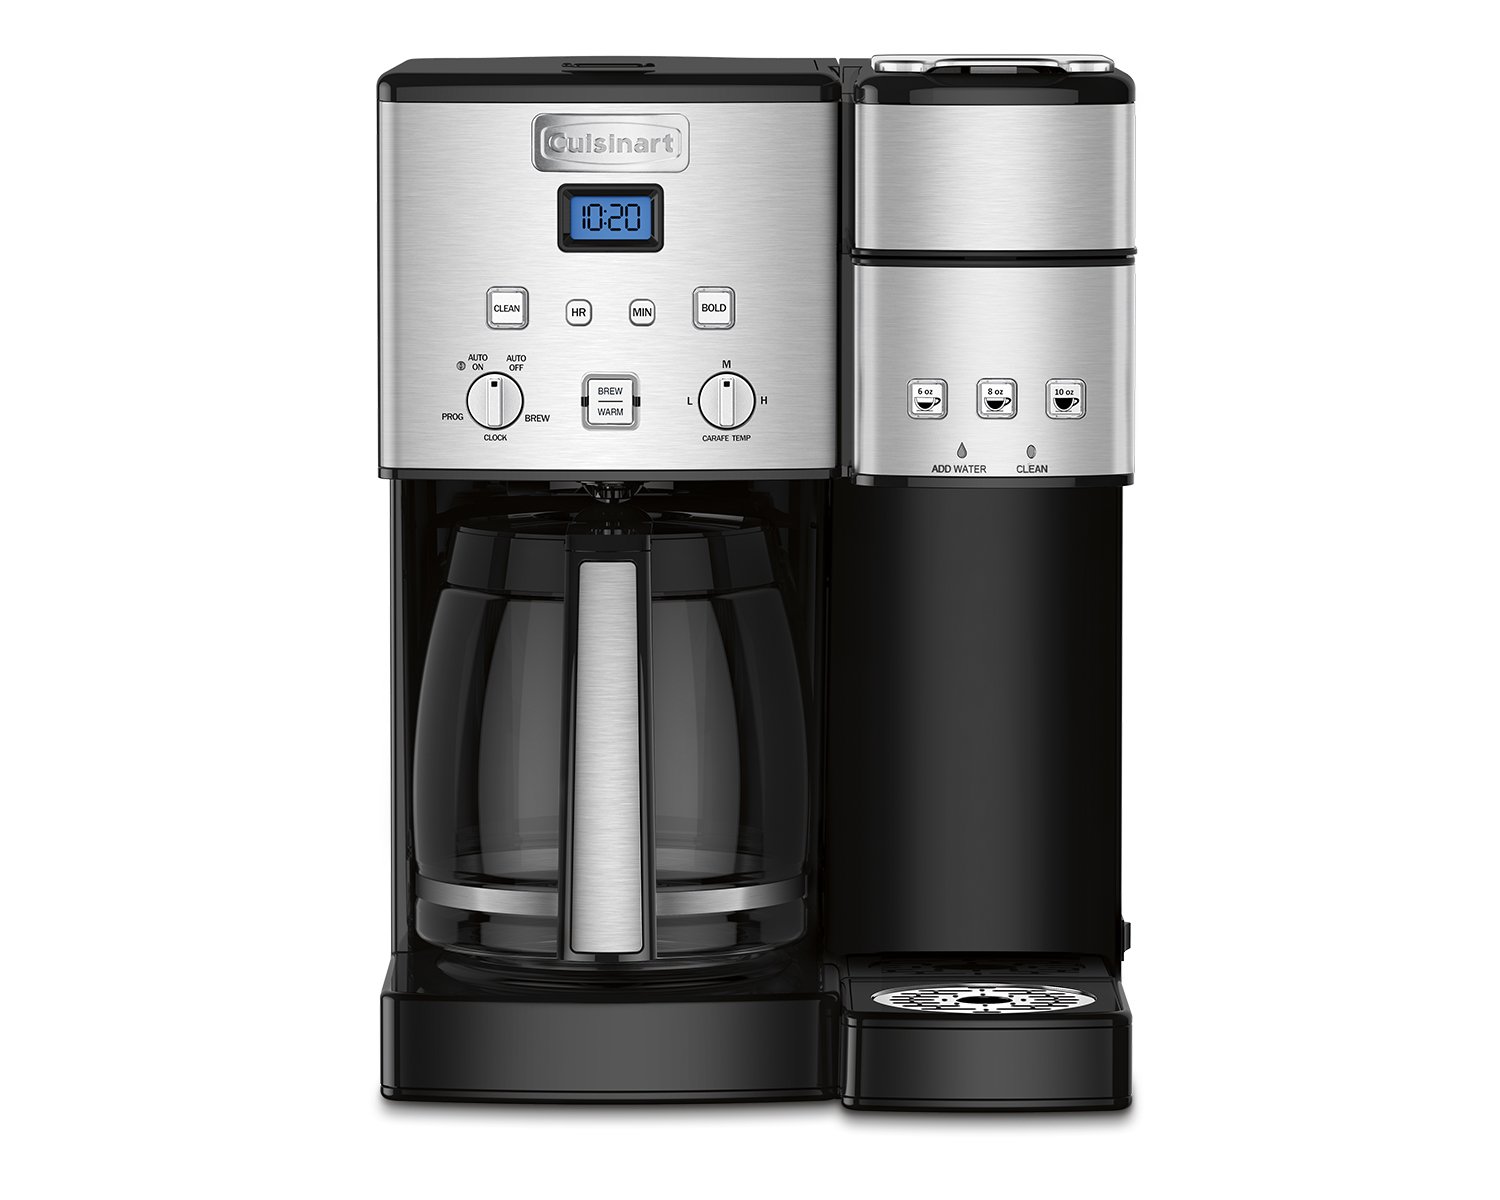
Feature
- 12-cup glass carafe with BPA free and stainless steel handle
- Brew Strength Control – select BOLD for stronger coffee flavor
- Gold-tone coffee filter lets only pure coffee flavor flow through
- Single-Serve serving sizes: 6, 8, 10 oz
- Includes Cuisinart’s Home Barista Reusable Filter Cup which lets you use your own coffee, K-Cup pod compatible as well
Description
The Cuisinart Coffee Center features a fully automatic 12-cup coffeemaker on one side and a single-serve brewer on the other. Sipping solo or serving a crowd, it’s easy to enjoy the gourmet taste you expect from a Cuisinart coffeemaker. And one coffeemaker that does the job of two frees up more space on your counter!.
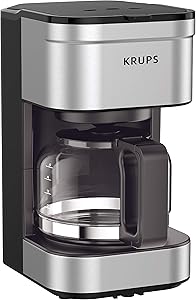
8. KRUPS KM202850 Simply Brew Compact Filter Drip Coffee Maker, 5-Cup, Silver

Feature
- PERFECT FOR ONE OR TWO: Brews up to 5 cups of coffee.
- CONVENIENT: Allows you to pour a cup of coffee while brewing and automatically keeps your coffee warm.
- SIMPLE AND EASY TO USE: Carafe with no-drip spout, which controls the mess
- easy On/Off button to start brewing and turn off the brewer
- and a conveniently located water tank.
- MODERN DESIGN: Premium stainless-steel finish.
- ACCESSORIES INCLUDED: Glass coffee pot, permanent coffee filter and coffee spoon for your daily brewing needs.
9. Ninja 12-Cup Programmable Brewer CE251 Coffee Maker, 60 oz, Black/Stainless Steel
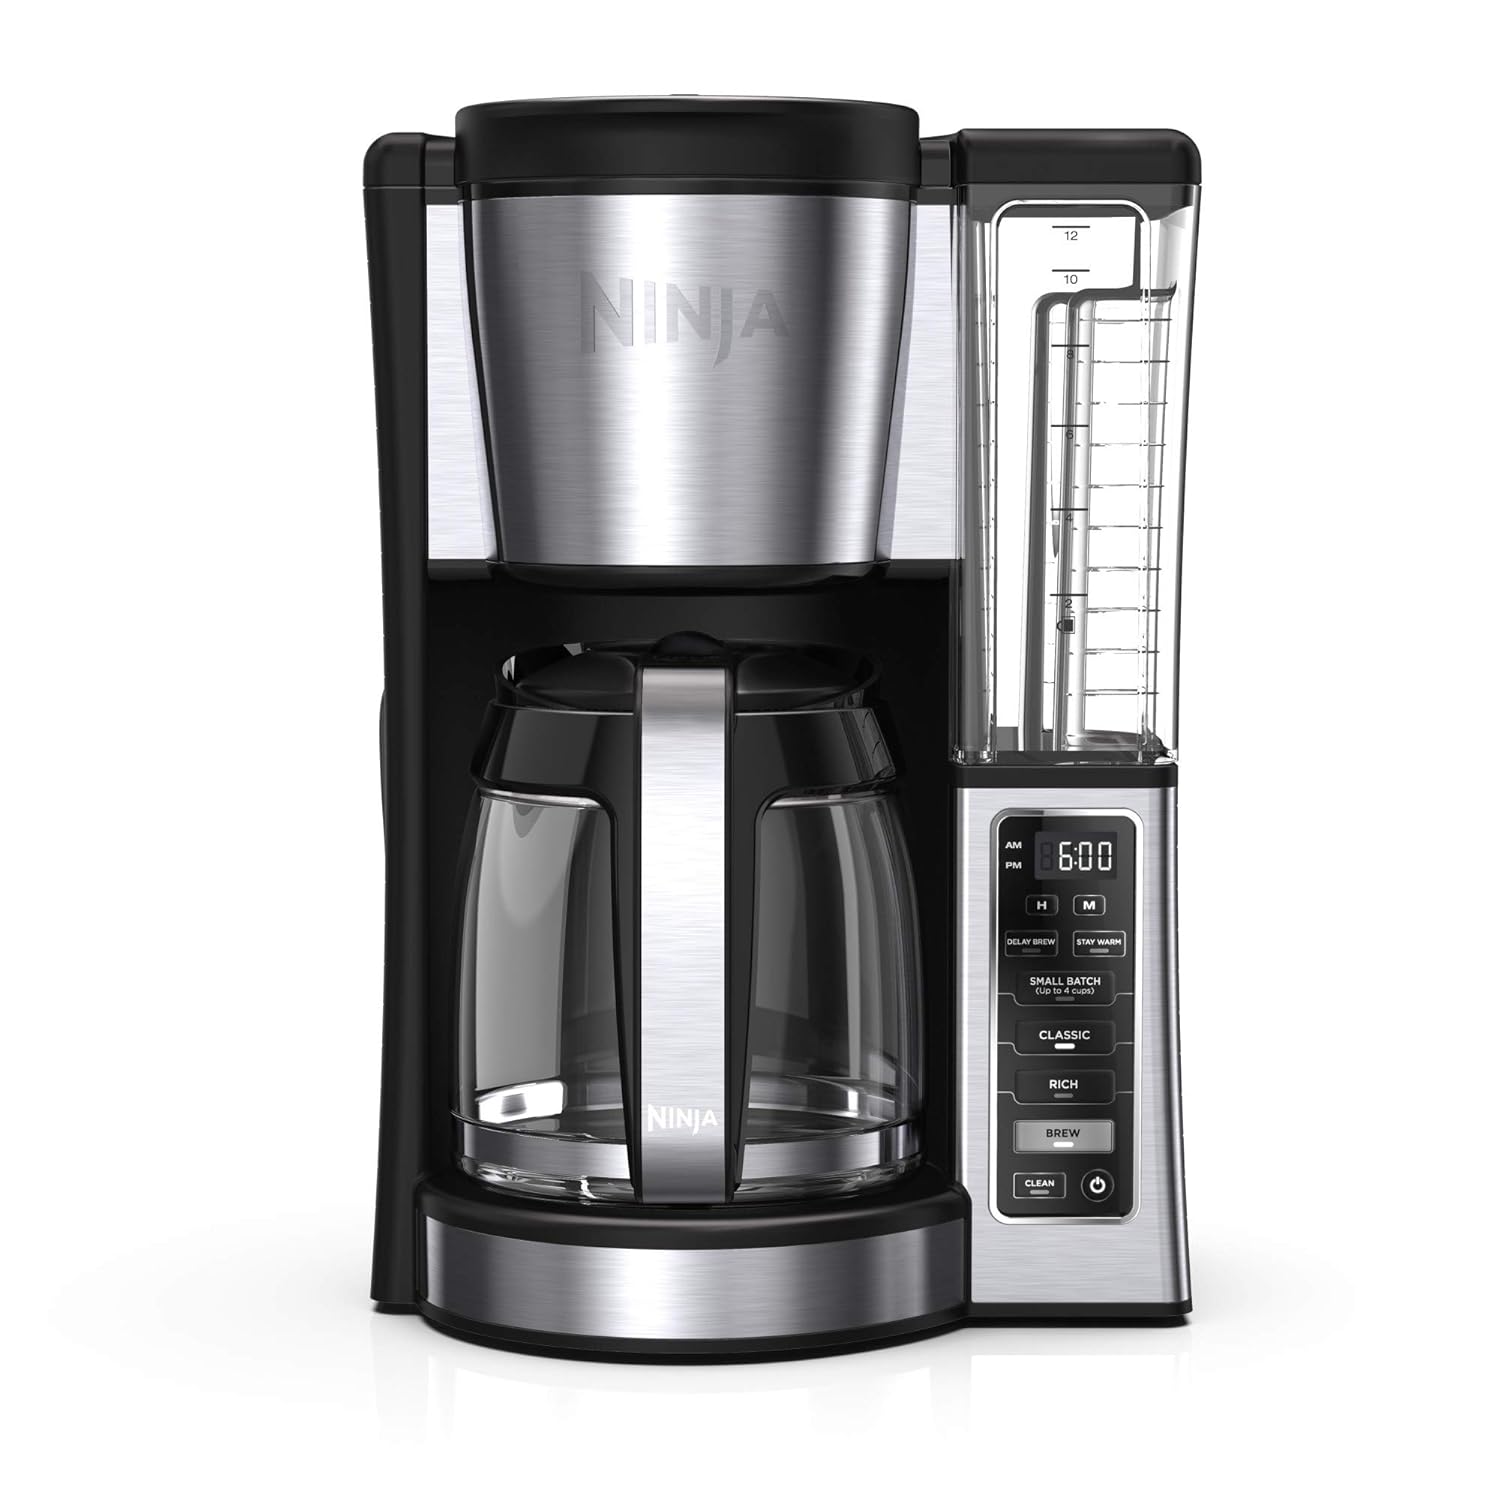
Feature
- Classic or rich, each brew is flavorful and never bitter with custom brew strengths.
- Hotter brewing technology: advanced boiler for a perfectly hot cup of Coffee.
- Wake up to hot Coffee! 24-Hour programmable delay brew allows you to prepare your brew up to a day in advance.
- Keep Coffee fresh and flavorful up to 4 hours with the adjustable warming plate.
- Conveniently carry the 60-oz. Removable water reservoir to your sink for easy filling.
- Pour yourself a cup before the brew is complete with mid-brew Pause.
- Ensure your Coffee is never Diluted when brewing a small batch (14 cups) by using the small batch function.
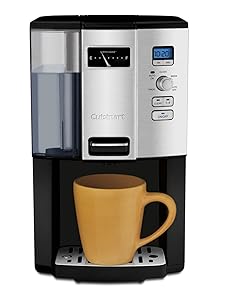
10. Cuisinart DCC-3000 Coffee-on-Demand 12-Cup Programmable Coffeemaker
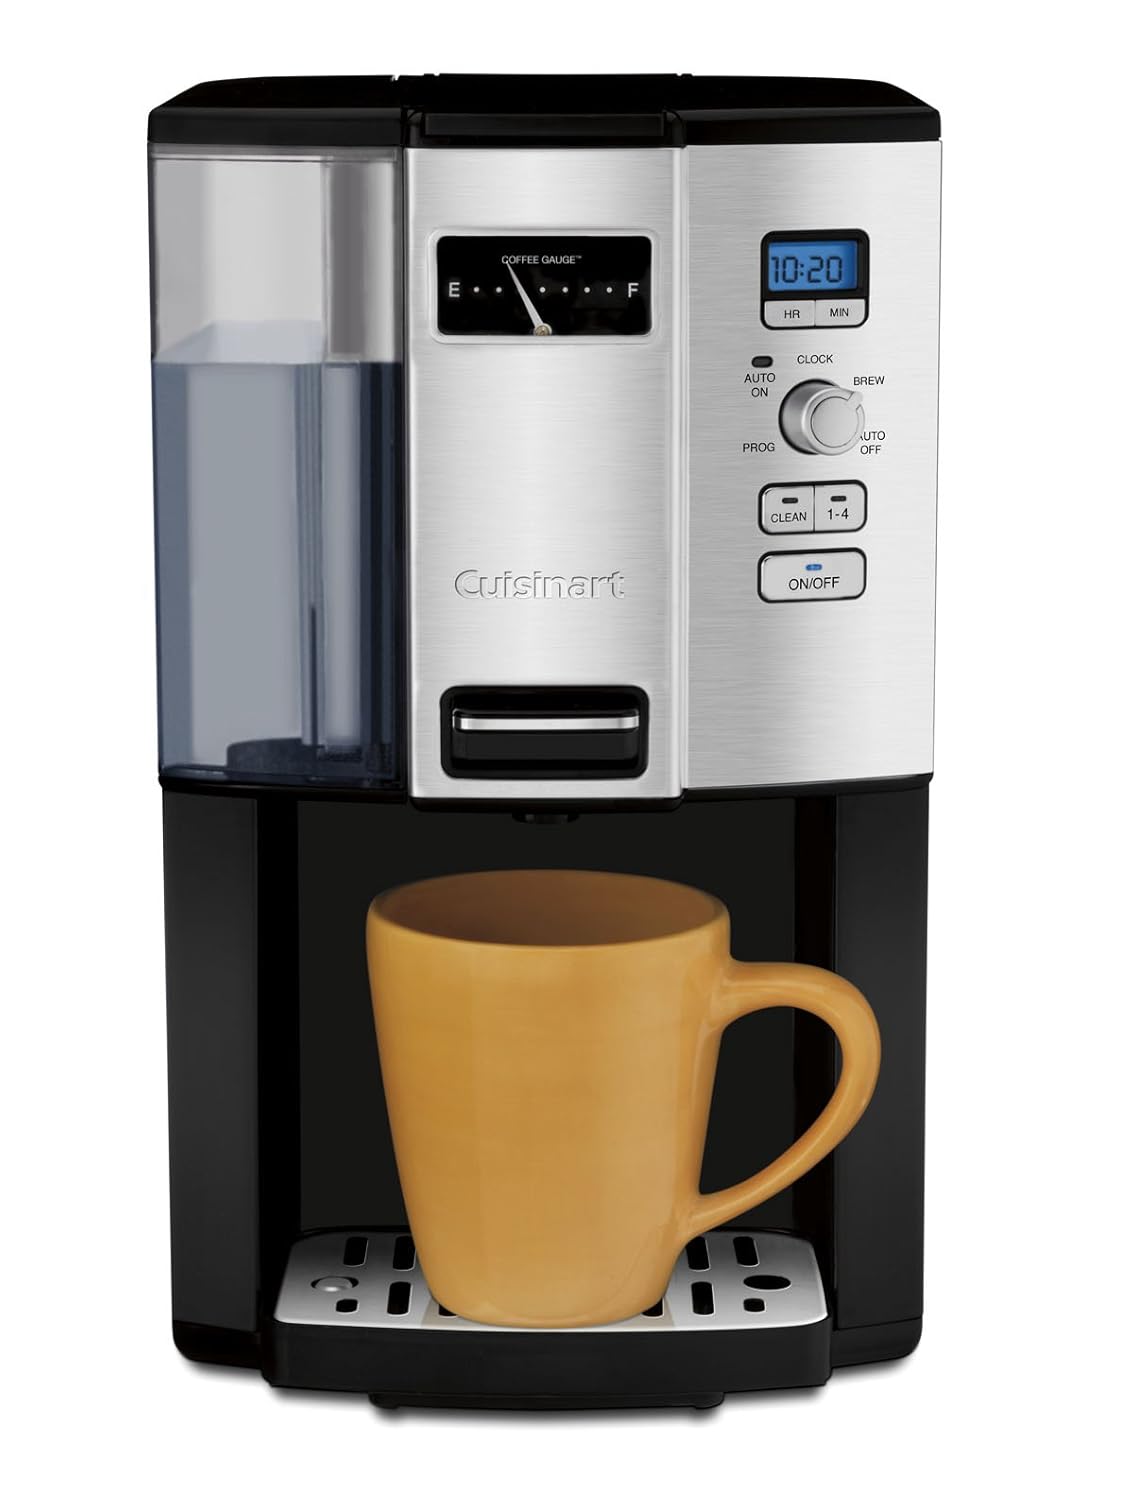
Feature
- Dispenses one cup at a time with an easy-to-use actuator
- Press the lever to fill your cup. Dimensions- 11.25 L x 8.75 W x 14.70 H inches. Charcoal water filter
- Removable water reservoir
- Double-wall coffee reservoir holds twelve 5 oz. cups of coffee
- Removable coffee reservoir for easy cleanup.UC Cubic Feet: 1.42
Description
DCC-3000 Features: -Keeps the coffee flowing. -24 Hours programmability and adjustable auto shut off. -Dispenses one cup at a time. -Removable water reservoir. -Fully programmable. Product Type: -Automatic machines. Color: -Silver, Black. -Dispenser light comes on when you press the lever to fill your cup. Material: -Metal/Plastic. Number of Items Included: -4. Pieces Included: -Coffeemaker, Coffee Scoop, Charcoal Water Filter, Gold-Toned Coffee Filter. Languages: -English. Dimensions: Overall Height – Top to Bottom: -14.6″. Overall Width – Side to Side: -8.7″. Overall Depth – Front to Back: -11.3″. Overall Product Weight: -9 lbs.
Conclusion
By our suggestions above, we hope that you can found How Remove Bottom Cover Coffee Maker Cuisinart Dcc for you.Please don’t forget to share your experience by comment in this post. Thank you!